Easily integrate with just one click.
Boost your productivity.
Reduce your writing time by half and publishing
high-quality articles automatically directly to your blog.
5 Simple Steps to Saving Your Business Card as an AI File for Perfect Printing
Revolutionize Your Business Card Printing with These 5 Surprisingly Easy AI File Saving Techniques - Don't Miss Out!
Image courtesy of Fernando Arcos via Pexels
Discover the Magic of AI Writing
Start Your FREE Trial with Texta.ai Now!
Table of Contents
Business cards are an essential part of any professional's toolkit. They are a quick and easy way to promote yourself or your business and exchange contact information with others. However, to ensure that your business cards look professional, it is crucial to save them as an AI file for perfect printing. In this article, we will take you through five simple steps for saving your business card as an AI file, ensuring that they are printed to the highest possible quality.
Step 1: Set up the Artboard and Bleed margins
The first step in saving your business card as an AI file for perfect printing is to set up the artboard and bleed margins. This is essential because it ensures that your design extends beyond the actual size of your card, leaving a small margin for trimming.
Discover the Magic of AI Writing
Start Your FREE Trial with Texta.ai Now!
Here’s how to set up the artboard and bleed margins using Adobe Illustrator:
- Open a new document in Illustrator.
- Select the "Print" profile and set the size to 3.5 x 2 inches, which is the standard size for a business card.
- In the "Bleeds" section, set the bleed to 0.125 inches on all sides.
- Click on "Create" to finalize the settings.
Step 2: Create a High-Resolution Print-ready File
The next step is to create a high-resolution print-ready file, which is crucial for ensuring that your business card looks professional. The most important thing to keep in mind when creating your file is to use vector graphics, which will ensure the best possible resolution for printing.
Here’s how to create a high-resolution print-ready file using Adobe Illustrator:
- Start by designing your business card on the artboard.
- Use vector graphics for all images and text on the card.
- Make sure that the resolution of all images used is at least 300 dpi.
- Check the color mode, which should be CMYK, not RGB, which is used for on-screen display.
"Your business card is your first impression, make it perfect with these 5 simple steps to saving it as an AI file for perfect printing! #ai #businesscards #printingtips https://texta.ai/blog-articles/5-simple-steps-to-saving-your-business-card-as-an-ai-file-for-perfect-printing"Tweet Quote
Step 3: Save your AI File
After creating your print-ready file, the next step is to save it as an AI file. There are several different file formats available for saving your AI file, each with its own benefits and drawbacks. However, we recommend saving your file as an AI file, as it is the native file format for Adobe Illustrator and will ensure the best possible quality.
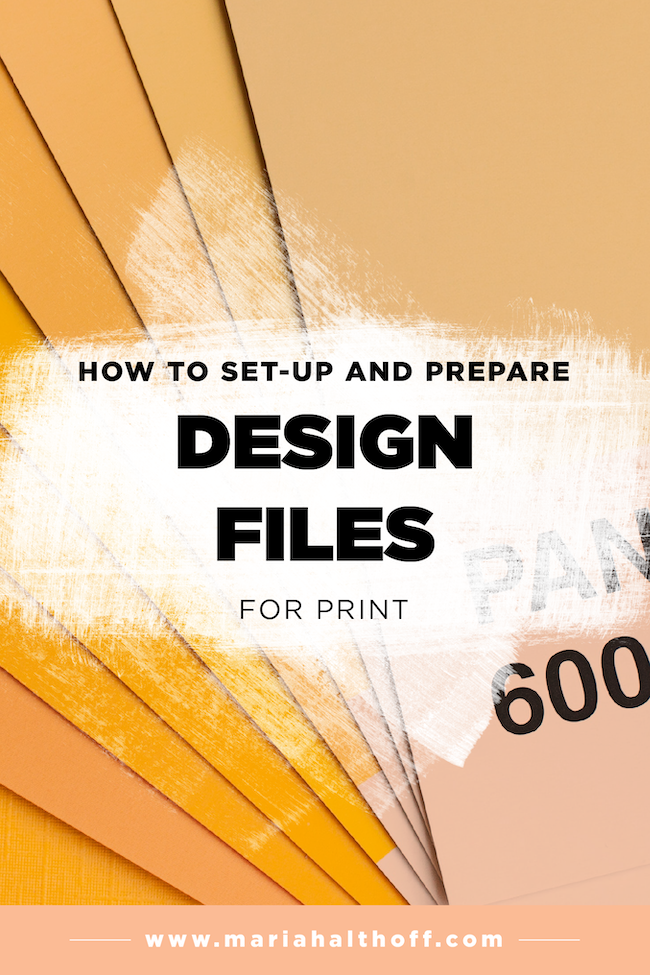
Image courtesy of via Google Images
Here’s how to save your AI file using Adobe Illustrator:
- Select "File" from the top menu and then click on "Save As."
- Select "Adobe Illustrator (*.AI)" as the file format.
- Give your file a name and select the location where you want to save it.
- Click on "Save" to finalize the process.
Step 4: Prepare for Print
The final step is to prepare your AI file for print. To ensure that your business card is printed to the highest possible quality, it's essential to double-check your design before sending it off to a printer.
Here are some tips to keep in mind when preparing your file for print:
- Double-check your design for any spelling errors or alignment issues.
- Ensure that your design is within the trimmed area, leaving a small margin for trimming.
- Convert all fonts to outlines to ensure that they look the same on every computer or printer.
- Check the color mode, file size, and file format of your AI file to ensure that it meets the printer's requirements.
Discover the Magic of AI Writing
Start Your FREE Trial with Texta.ai Now!
Conclusion
Now you know the five simple steps for saving your business card as an AI file for perfect printing. By following these steps, you can ensure that your business card looks professional and that it’s printed to the highest possible quality. And the best part, you don't have to do any of this work on your own! Use Texta.ai, the best content generator in the market, to take care of all your content needs and provide catchy and informative content for you. Try our free trial today!
No Responsibility Disclaimer for AI Blog WriterThe articles on texta.ai are generated by an AI-powered article writer and are for demonstration purposes only. Texta.ai does not endorse, condone, or take responsibility for any content on texta.ai. Please use caution when reading articles on texta.ai and always consult with a trusted source.
By using texta.ai, you understand and agree that Texta.ai is not responsible for any content on the site, and you use the site at your own risk.
Texta.ai may contain links to external websites. Texta.ai is not responsible for the content of external websites and you use any external website linked from texta.ai/blog-articles at your own risk.
Thank you for using Texta.ai.
AI Blog Writer.
Automate your blog for
WordPress, Shopify,
Webflow, Wix.


The first 7 days are on us
Full access to all writing tools
No credit card required
